
Wifi Thermocouple Monitor

Here are some quick instructions on how to get set up with the Remote Thermocouple Monitor. This product is still in beta, so it will take some effort on the part of the user to get things working. This guide should make it relatively painless.
The basic steps:
- Create a free particle.io account.
- Claim the Photon.
- Create a free SparkFun Data account.
- Flash the example code.
- View the data.

Step 1 - Create a free particle.io account
Go to https://login.particle.io/signup and follow the online instructions.
Step 2 - Claim the Photon
Follow this guide on Particle's website. There are step by step instructions and a video explaining the process.
Some notes to add. First, you can use a USB phone charger to power the Photon and thermocouple reader. Second, remember the name of this Photon, as you need to select it when you flash the firmware.
Step 3 - Create a free SparkFun Data account


Go to data.sparkfun.com and create a data stream. Make sure to add these five fields exactly: tempref_c, temp0_c, temp1_c, temp2_c, temp3_c.
Step 4 - Flash the Example Code
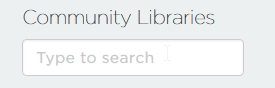
- Click the Libraries icon in the Particle IDE.
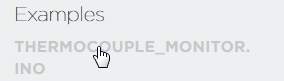
- Search for ReclaimerLabs_ADS1118 under Community Libraries.
- Select the example and click the "Use Example" button.
- Copy in your public and private keys from SparkFun Data.
- Click the Devices icon and make sure the start is gold next to the name from Step 2.
- Click the Flash icon to flash this code onto the Photon.


Step 5 - View the Data
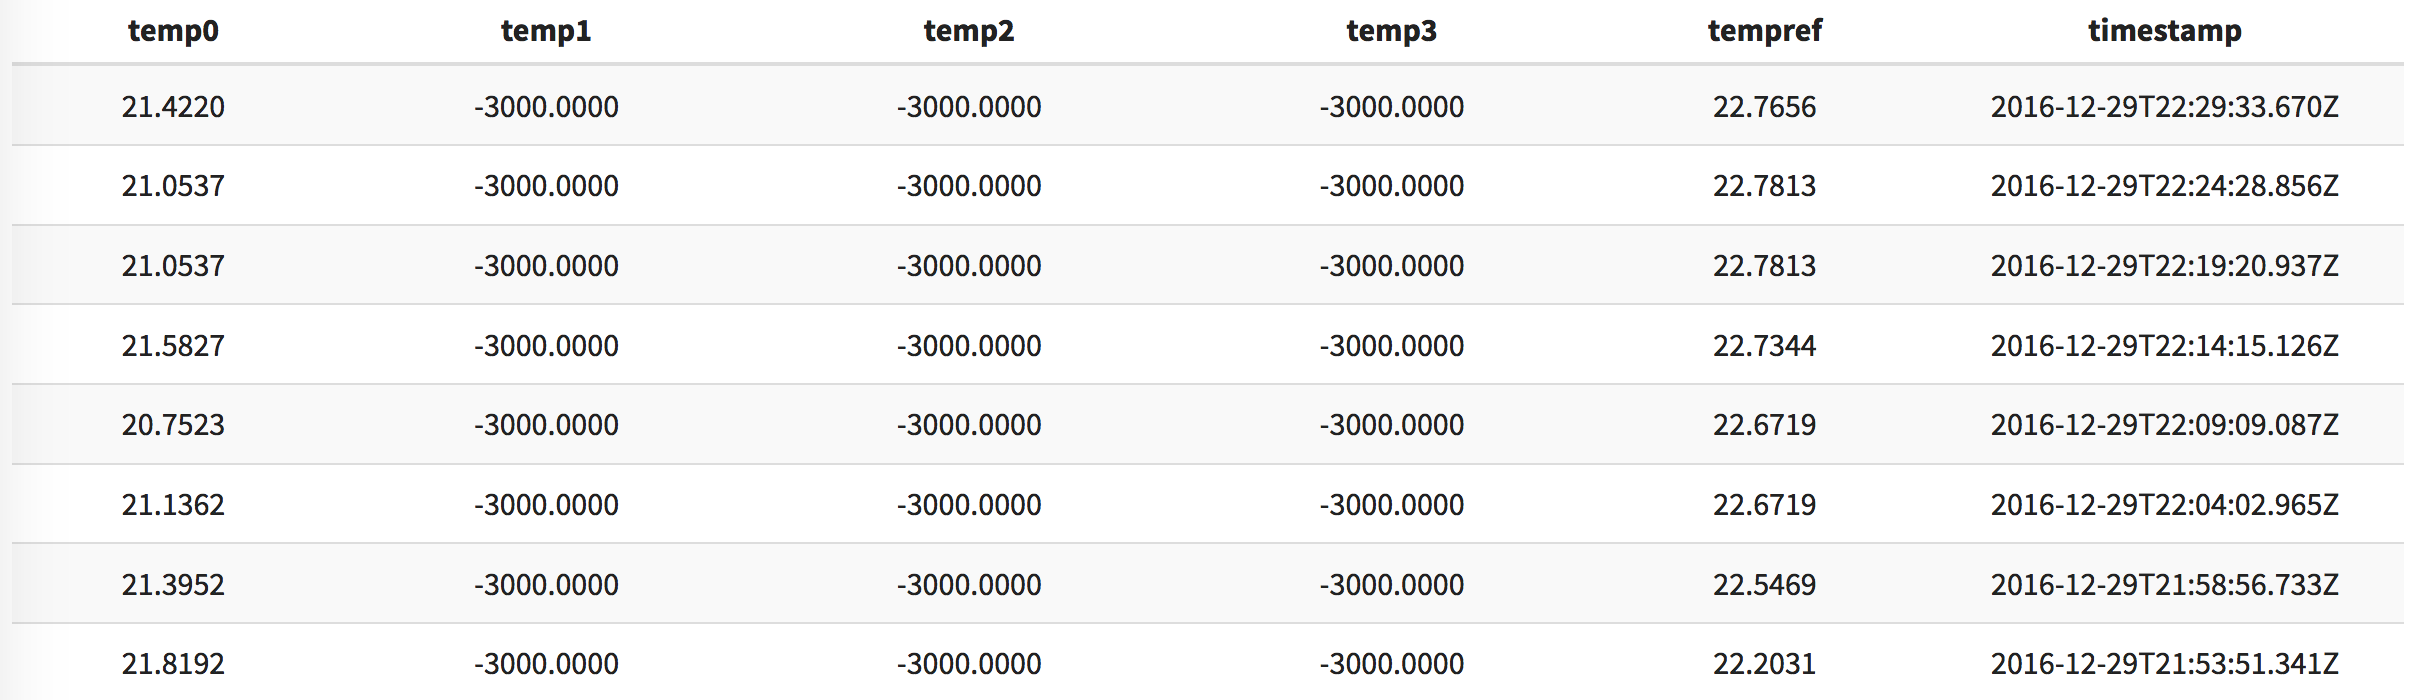
Follow the link from SparkFun Data to your stream. It should be a URL something like this: https://data.sparkfun.com/streams/AJN6lY94W1T3mNb0On8Y/. Here's what the data looks like.
The example app updates every 5 minutes or so. This rate was chosen to not overwhelm the free services used in this example. Rates of over once per second are possible with different back-end services.
Enjoy!